To complete the firearm self-check form, you must provide clear, good-quality photographs that meet specific standards. These photos will ensure your firearm is accurately identified in the National Firearms Identification Database (NFID) - helping to protect ownership records, prevent errors, and ensure compliance with regulations. This guide provides instructions on taking proper firearm photos to ensure accurate identification and record-keeping.
The help guide is also available in a PDF format.
Required photographs
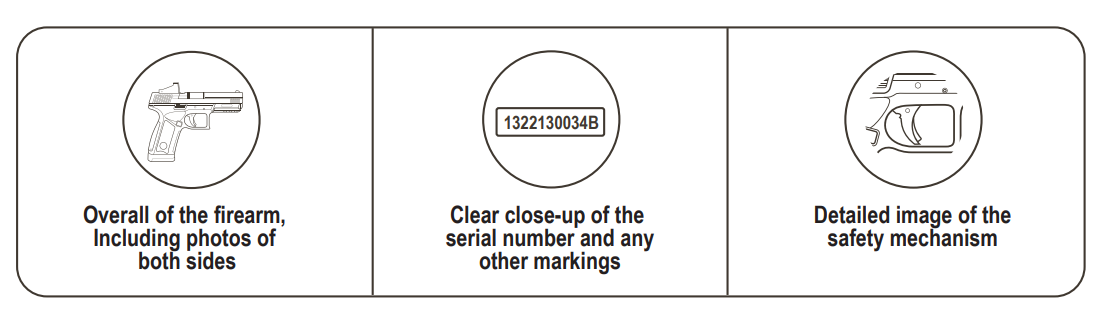
To ensure successful upload and accurate identification, your photos must include:
- overall of the firearm, including photos of both sides
- clear close-up of the serial number and any other markings
- detailed image of the safety mechanism
The maximum file size for each uploaded image is 5MB. Accepted formats are .jpg, .jpeg, .png, or .tif..png, or .tif.
General tips for capturing clear and usable photos
For your photo to be valid, follow these guidelines for all images.
- Use a neutral background – place the firearm on a plain surface and avoid backgrounds with a colour too similar to the firearm to prevent distractions or reduce visibility.
- Ensure proper lighting – take the photo in a well-lit area, but avoid angles that cause shadows.
- Hold the camera steady – hold the camera firmly to prevent blurriness. Use a tripod if needed.
- Keep the object in focus – when taking close-up shots, ensure the firearm remains sharp and clearly visible.
Guidelines for capturing required photographs of firearm parts
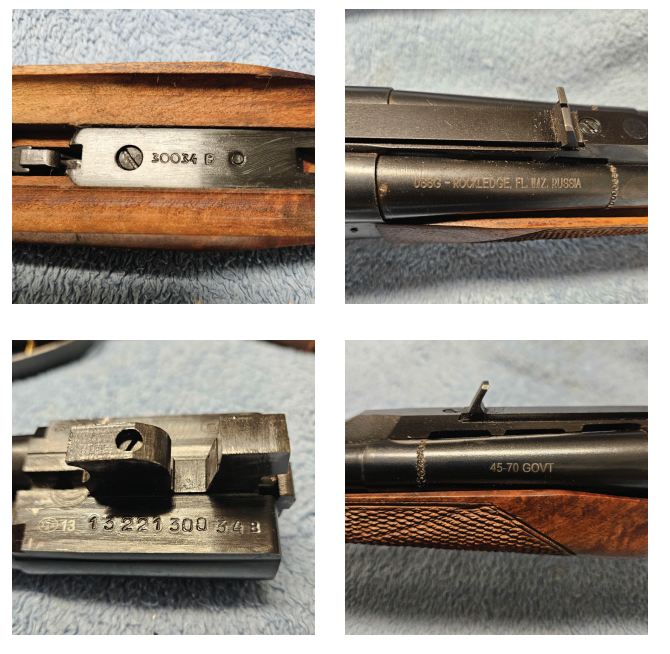
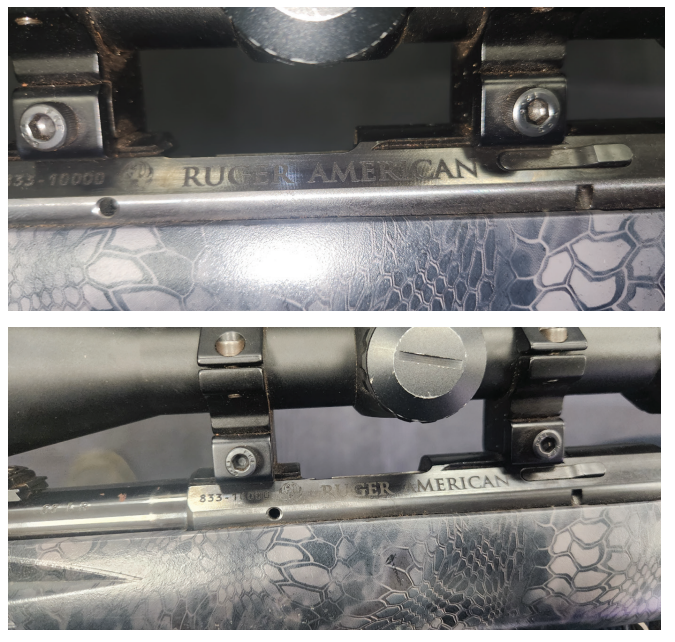
Close-ups of the serial number, make/model and any distinct markings
Do's
When taking close-up photos of the serial number, make/model, and any distinct markings on your firearm, follow these guidelines and upload each of them to the corresponding photo section:
- Capture the image as close as possible – maintain clear detail.
- Crop the image around the markings – ensure enough surrounding details are left to indicate their location.
- Include all firearm manufacturer marks and stamps – ensure all relevant markings are visible.
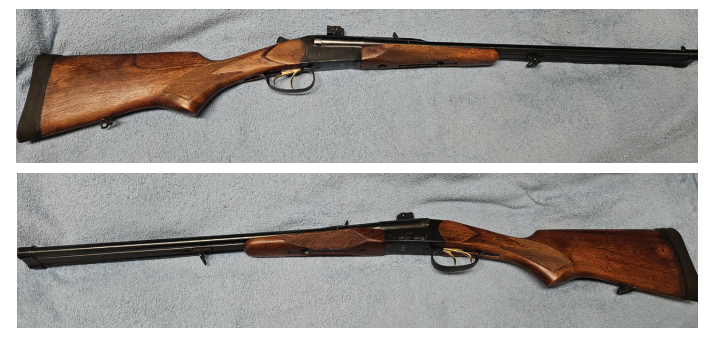
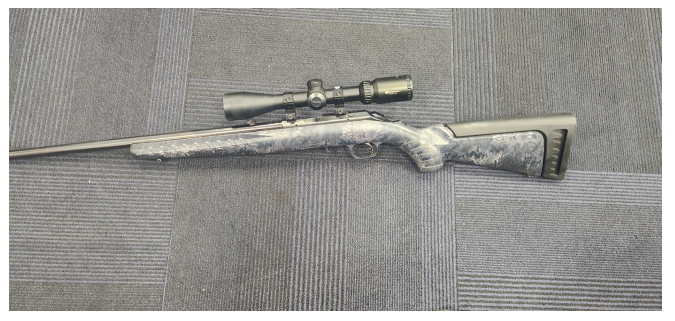
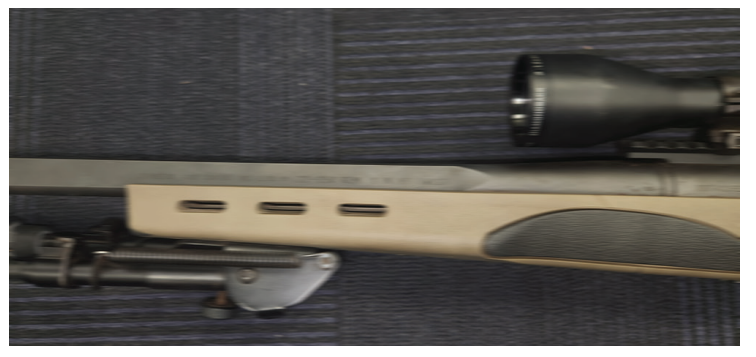
Whole firearm - both sides
- Capture both sides – take clear photos of both the left and right sides of the firearm.
- Ensure full visibility – keep the entire firearm within the frame, avoiding any cropping or cut-off parts. Maintain minimal space between the firearm's edges and the image border.
- Position the firearm flat and straight – lay the firearm in a way that shows its full structure without distortion.
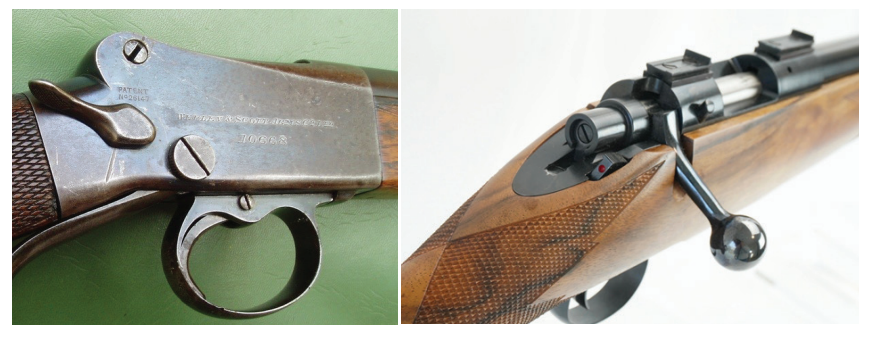
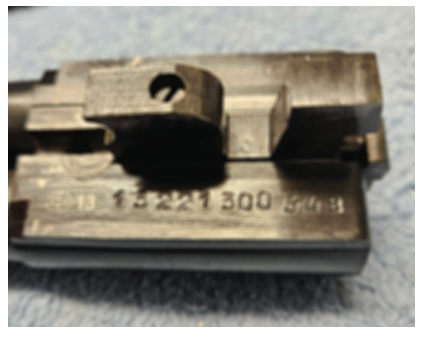
Close-up of firearm trigger/action (safety mechanism)
- Capture the image as close as possible – ensure sharp focus and maintain clear details.
- Crop the image around the safety mechanism– Ensure enough surrounding details are left to indicate its location.
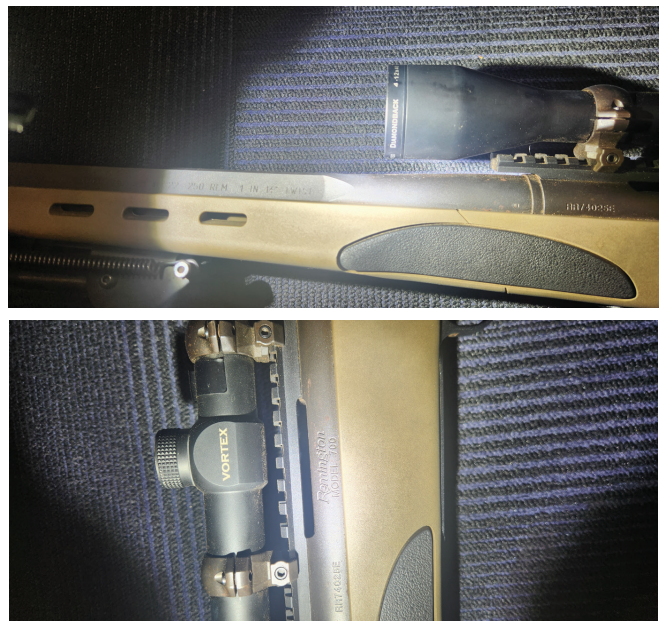
Common mistakes to avoid
Dont's
The following example images show some common mistakes:
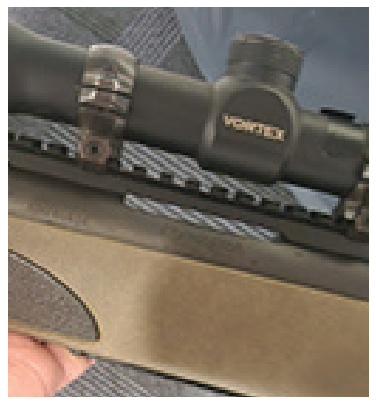
- Distracting background – the background color is too similar to the firearm, making it difficult to distinguish.
- Too far away – the firearm is captured from too far away, reducing visibility of key details.
- Poor lighting conditions – take the photo in a dimly lit area or under a harsh light source that creates strong shadows, making firearm details hard to see or unevenly lit.
- Improper cropping – the image of the firearm is cropped, failing to show the entire firearm in an overall photo.
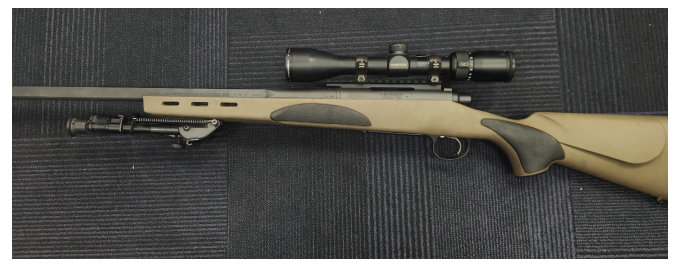
- Harsh shadows – cover important details, making the firearm difficult to identify.
- Glare or reflections – obscure serial numbers and markings, reducing clarity.
- Uneven lighting – bright spots and dark areas, making the image unclear.
- Motion blur – the photo is blurry due to movement while capturing the image.
- Out of focus – the photo is out of focus and not sharp, making details difficult to see.
- Low-quality image – the resolution is too low, preventing important details from being visible.